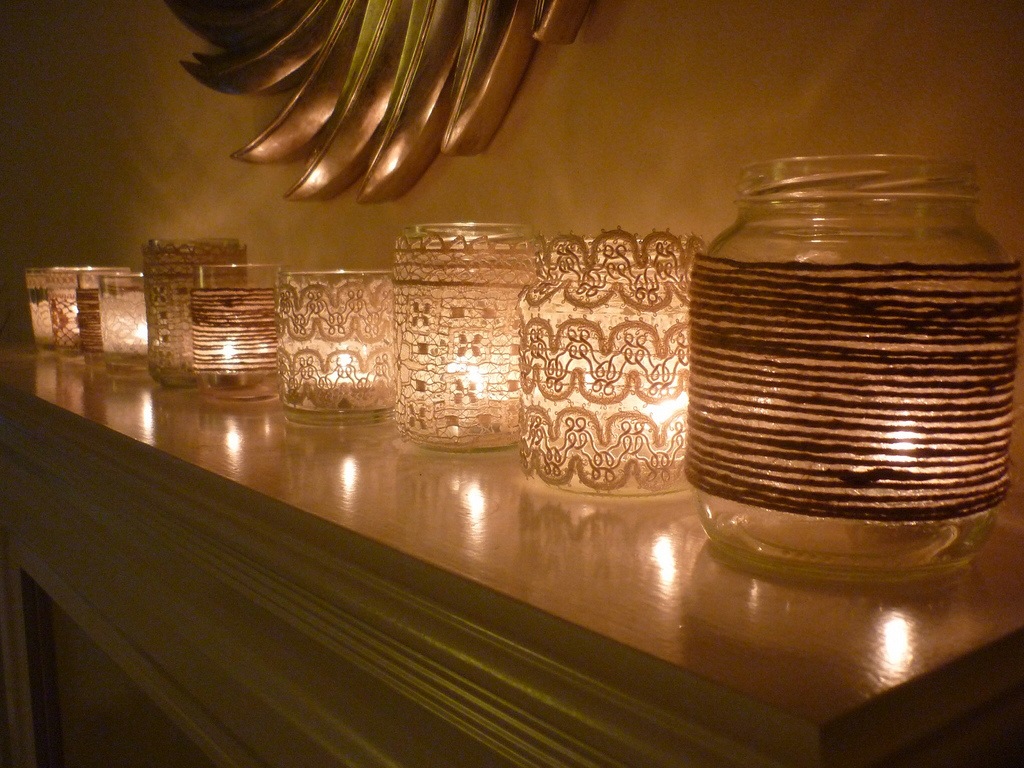
Hopefully, you’ll be able to find something you like and embark on a crafting adventure of your own. If you have never tried DIY decorations, I strongly recommend you give these ideas a shot. They are relatively easy to pull off. If you’re looking for more daunting and complex tasks, there’ll be a plethora of them in the links provided.
1. Paintings and framed decorations
If you’ve no idea where to start with DIY, you can try a project called “Quotes on Canvas.” These pieces are easy to make, you don’t have to know how to paint, and the name is more or less self-explanatory. The only thing you’ll have to decide on is which quote you’re going to use. You’ll need a can of white paint, painters tape, a bunch of old newspapers and magazines, spray adhesive, vinyl letters, and either canvas or an old painting you no longer need. Step 1: Cut the newspaper pages or rip them apart. It doesn’t matter, since the pieces do not need to be small. All you need to do is glue random pages and pictures to the canvas. Step 2: When the canvas is completely covered in newspaper or magazines, place your letters so that they spell out the quote you want (make sure the spelling is right, because there’s no going back!). Step 3: Use the sponge brush to apply the white paint all over the canvas and letters. Let it dry. Step 4: Remove the letters and you’ll have your quote-on-canvas masterpiece. Here’s the link to the entire project, just in case you want to follow along with the pictures.
2. Glassware projects
I recently found a very creative and useful way to cut glass bottles using a string, acetone, and fire. Basically, you submerge a thread of string in acetone, tie it around the part of bottle you want to cut, set the sting on fire, and start spinning the bottle. Once the string has burned out, dip the bottle in some cold water and the piece will fall off. This method opens up a world of possibilities for wine bottle crafts, so even though I can’t decide on what specific decorations I’m going to make, rest assured that a lot of bottles will be cut this summer. You can cut out miniature holes in the middle of the bottle, put a candle in it, and make a lantern-like decoration. You can use the bottles to create miniature gardens, or even vessels for serving food. Honestly, there are so many possibilities. Here’s a link that explains how to cut glass in more detail.
3. Clothes and pillow crafts
These kinds of decorations are not really my cup of tea. However, I managed to find something useful and easy to make — Award Ribbons. These are great if you have kids, since they can be used as positive reinforcement for successfully accomplished tasks. You will need some light cardboard, some fabric you are no longer using, glue, and some ribbons. Cut the cardboard into either a square or rectangle frame, and then cut an additional piece in the same shape, only a bit smaller. The next thing you should do is apply glue to the frame and wrap the fabric around it. Cut a piece of paper so that it can fit onto a smaller piece of cardboard and write the name of the achievement on it (Chess Champion, for example). Glue the paper on the smaller piece and then glue that piece to the frame. Finally, glue the ribbons on the back of the cardboard. That’s it! You can find more fabric crafts here, and if you want to see the project I described, follow this link.
4. Furniture projects
Here’s something a bit more challenging, yet still pretty simple to build. It’s called a suitcase side table. You’ll need a suitcase you no longer plan on using — but don’t use one that is all torn up! This is a table we’re talking about here and it needs to look nice. You’ll also need four wooden table legs, four wooden square blocks, a drill, some nails, and 16 post screws. First, get your four table legs from the same table. If you have a table you are no longer using, just unscrew the legs and reuse them. In order to create good balance, cut 4 blocks of wood (square-shaped and as identical as possible). Glue the wooden legs onto the blocks and use nails to reinforce the bond. You will then need to place your new wooden legs at the back of the suitcase, so make sure you measure the distance between them correctly. Drill four holes through the wooden leg base and through the suitcase at the same time. This way, the holes will align perfectly. Next, use screws from the inside of the suitcase so they go through the holes drilled on the wooden base. Finally, use your post screws to seal everything and you’ll have your suitcase table. Here’s a link for the suitcase table, so that you can see how it should look as you go. And as promised, here’s a link to some other DIY summer decorations that you can use for inspiration. These projects are quite easy to tackle and shouldn’t be too time-consuming. There is enough room for the whole trial and error process if you are a novice craftsman. Have an interesting summer this year, and I hope you’ll be pleased with your finished decorations! Featured photo credit: https://www.flickr.com/photos/birminghamcityuniversity/ via flickr.com


